A free image compressor should do more than make a green progress bar appear. It should help you finish the actual task: prepare a website image, meet an upload limit, convert a phone photo, process a folder, or keep a private file on your device.
This comparison looks at browser-based options through those practical workflows. The goal is not to claim that one service wins every possible image test. The goal is to show which type of compressor is a good fit for each kind of work.
What we compared
- Quality and file-size control
- Support for JPG, JPEG, PNG, WebP, HEIC, HEIF, GIF, BMP, TIFF, and TIF
- Resizing before compression
- Batch processing
- Conversion to WebP, JPEG, PNG, or AVIF
- Browser privacy and upload behavior
- How quickly a new user can understand the workflow
Comparison at a glance
| Tool type | Best for | Privacy model | Where it wins |
|---|---|---|---|
| WeLuvTools All-in-One | Compression plus conversion and resize | Browser processing | Complete workflow with batch support |
| Squoosh-style codec tools | Detailed single-image tuning | Browser processing | Fine visual and codec control |
| Cloud compressors | Quick familiar compression | Files uploaded for processing | Simple onboarding and established workflows |
| Desktop compressors | Recurring large local batches | Local application | Repeatable offline pipelines |
| Task-focused online tools | One occasional conversion | Varies by service | Fast, narrow workflows |
1. WeLuvTools: best for a complete browser workflow
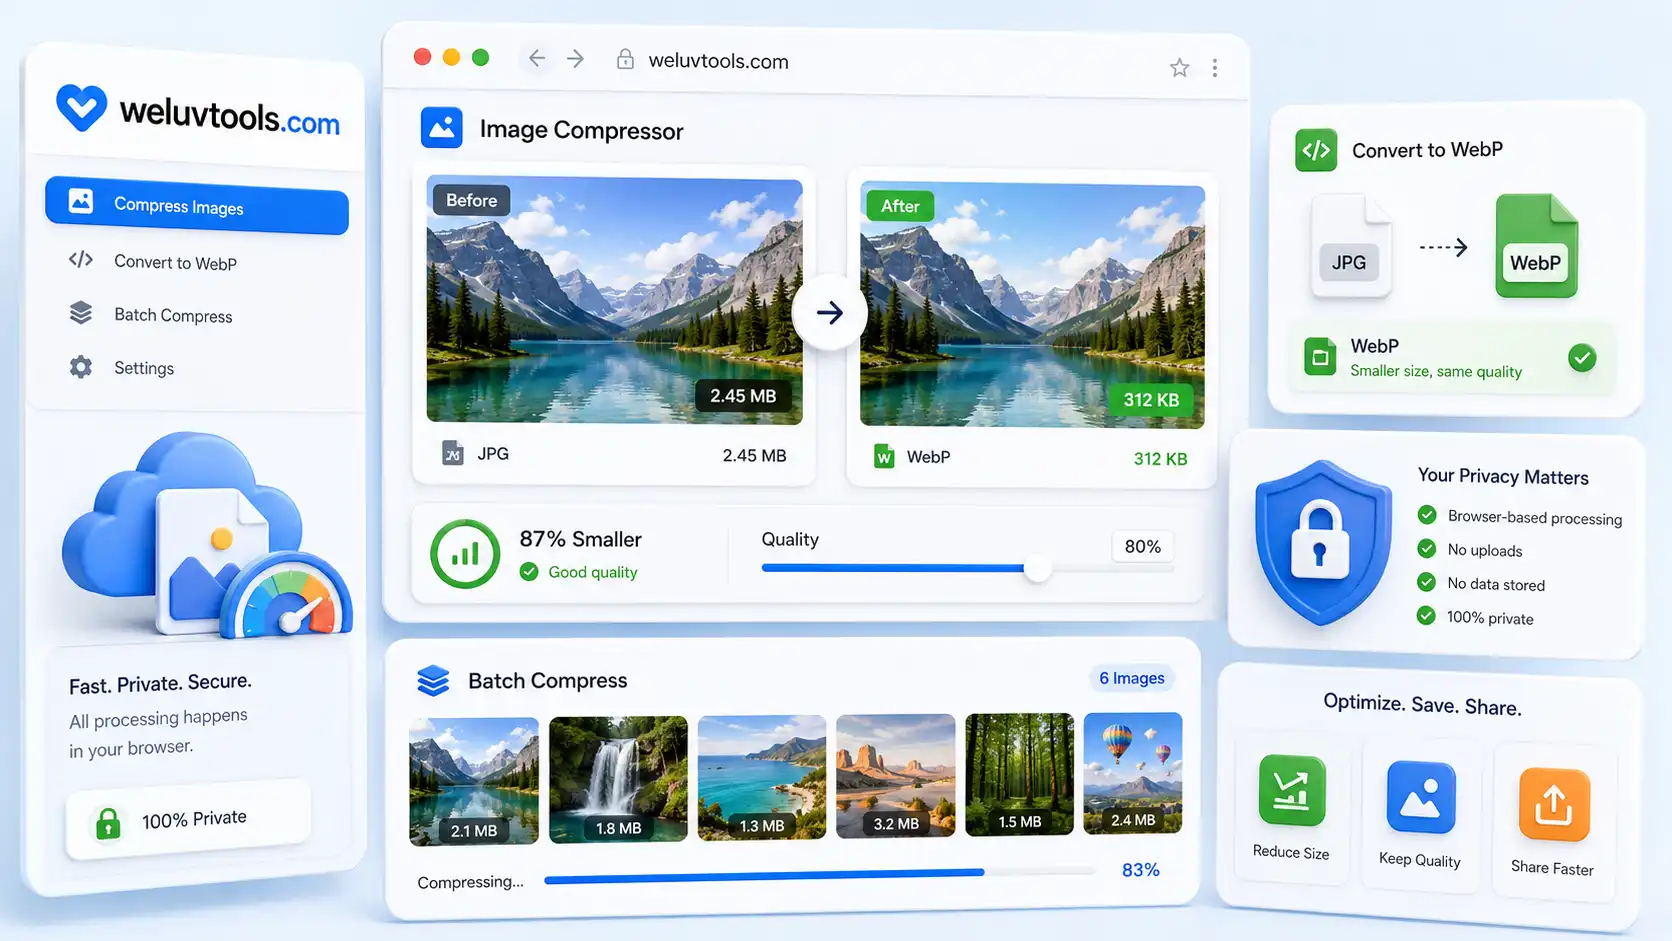
WeLuvTools is designed for people who do not want to open a separate compressor, converter, and resizer for the same folder. The All-in-One Image Tool accepts common web and camera formats, lets you choose an output format, offers quality and resize controls, and processes multiple files together.
It is a strong option when your task is “make these images ready for my website” rather than simply “reduce this one file.” You can convert JPG or PNG to WebP, resize an oversized photo, apply the same settings to a batch, and review the result before downloading.
Best use cases
- Bloggers preparing featured images and thumbnails
- Stores optimizing product catalogs
- Developers creating web-ready assets
- Students and applicants meeting upload limits
- Users handling HEIC or TIFF files without a cloud upload
2. Squoosh: best for hands-on image experiments
Squoosh-style tools are excellent when you want to inspect one image carefully and understand how different codecs and quality values affect the result. They are particularly useful for developers and designers who want a visual before-and-after comparison.
The tradeoff is workflow speed. If you have 30 files that need the same output dimensions and format, detailed single-image controls can become repetitive. Use this type of tool when precision matters more than batch convenience.
3. Cloud compressors: best for a familiar quick task
Cloud compressors are popular because the workflow is easy to understand: upload an image, wait for processing, and download the result. They can be a good choice for public marketing images or non-sensitive files.
Before using one for private photos, identity documents, unreleased product images, or client work, check how the files are uploaded, retained, and deleted. A “free” service can still have file limits, queues, account requirements, or a different privacy model than a browser-only tool.
4. Desktop compressors: best for recurring production work
A desktop compressor makes sense when a team repeatedly handles large folders and needs an offline process. It can offer more predictable automation, local storage, and integration with a wider production pipeline.
The cost is setup and maintenance. For an occasional image or a small batch, installing software can take longer than using a browser tool. The best choice depends on frequency, volume, and how much control your workflow needs.
5. Task-focused tools: best for one narrow job
Task-focused tools can be convenient when the goal is specific, such as converting PNG to JPG or shrinking one image. They become less convenient when the next step requires a different website, another upload, or a separate download folder.
Use a dedicated converter when it is exactly what you need. Choose an all-in-one workflow when compression, format conversion, resizing, and batch processing are part of the same job.
How to test an image compressor fairly
- Use the same original file for every test.
- Record the original dimensions and file size.
- Choose a comparable output format and quality goal.
- Compare the final byte size, dimensions, and visible detail.
- Test a photograph, screenshot, logo, transparent image, and mixed batch.
- Check whether the output is genuinely the format it claims to be.
- Review the privacy and upload behavior before using private files.
One percentage reduction does not prove that a compressor is best. A tool that creates the smallest file may also remove too much detail, change transparency, or require extra steps to make the result usable.
Which free image compressor should you choose?
Choose WeLuvTools when you want a complete browser workflow with compression, conversion, resizing, and batch support. Choose a Squoosh-style tool for detailed tuning of one image. Choose a cloud compressor for a familiar quick task with files you are comfortable uploading. Choose desktop software for a recurring offline production pipeline.
For most everyday website work, start with the Image Compressor or the All-in-One Image Tool. Resize the image to its real display dimensions, choose WebP or JPEG when appropriate, and inspect the final file before publishing.
Final takeaway
The best free image compressor is the one that matches your complete workflow. File size, visual quality, format support, privacy, and batch convenience all matter. A tool becomes genuinely useful when it helps you reach the final publishable result without forcing you through unnecessary extra steps.