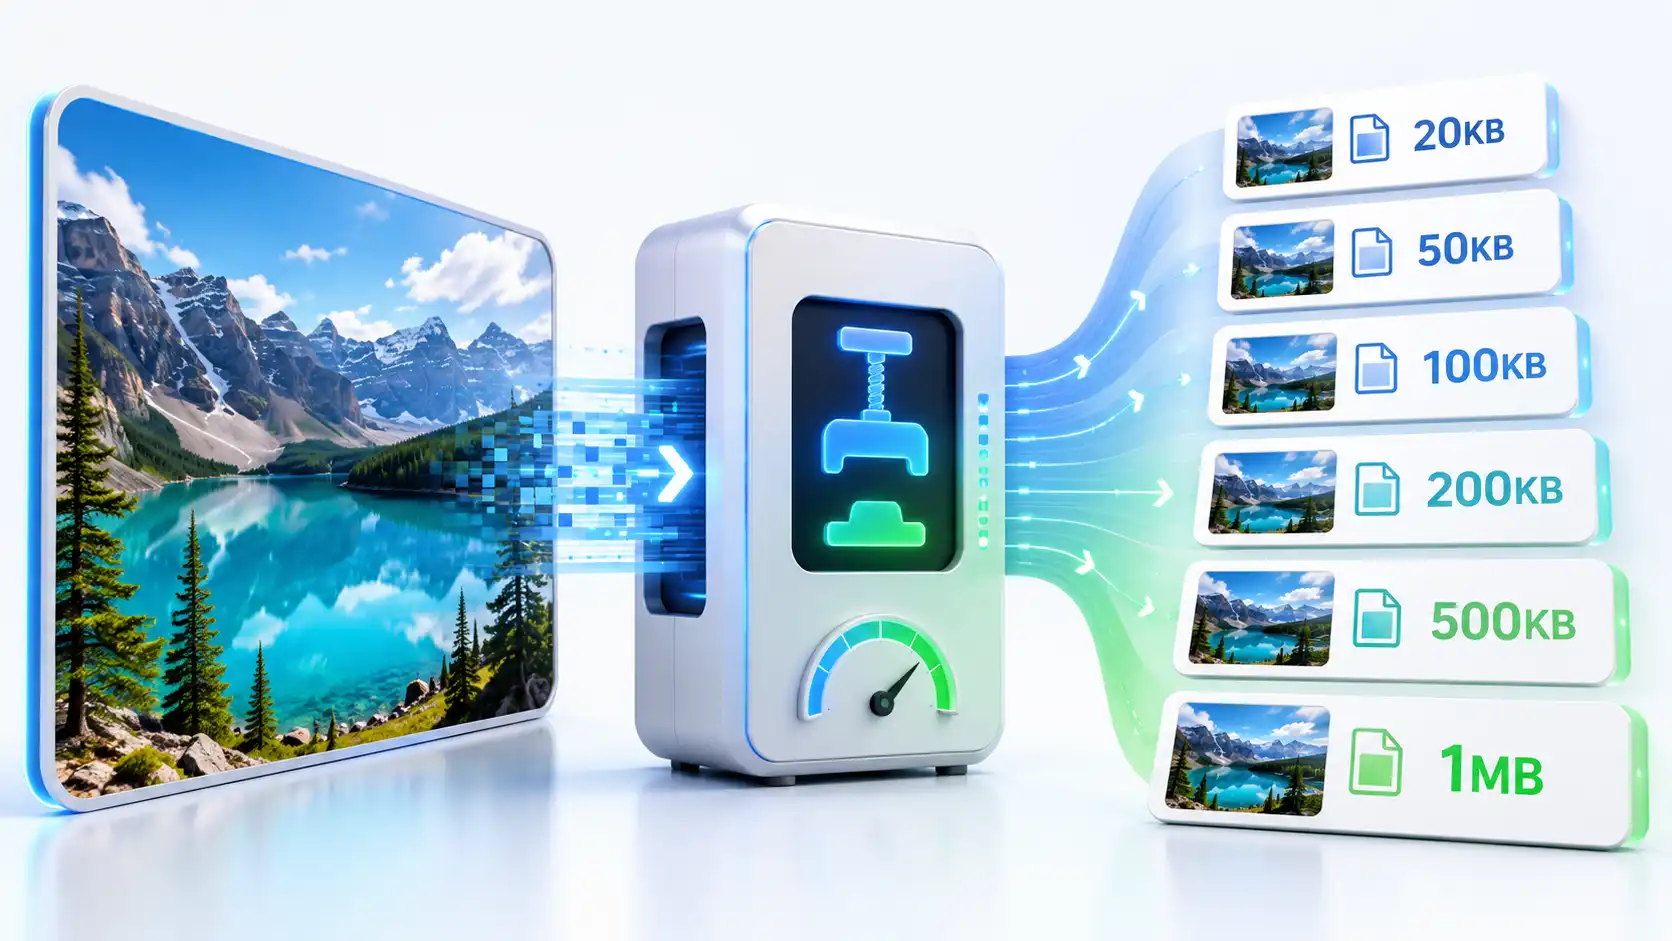
Upload forms, profile pages, government applications, marketplaces, school portals, and websites often reject images that are too large. The frustrating part is that choosing a very low quality setting does not always solve the problem. To reach a target such as 20KB or 100KB, you usually need to control both the pixel dimensions and the image format.
This guide explains how to use an image compressor to 20KB, 50KB, 100KB, 200KB, 500KB, or 1MB without blindly destroying the image.
Why exact image-size compression is difficult
An image is not just a picture; it is encoded data. File size depends on the width, height, colors, detail, noise, transparency, format, and quality setting. Two images with the same dimensions can produce very different file sizes.
A flat-color logo may reach 20KB easily. A detailed night photograph may need to be resized significantly before it reaches the same limit. That is why no honest compressor can promise one quality value that produces exactly the same size for every image.
Choose the right target
| Target | Typical use | Recommended starting point |
|---|---|---|
| 20KB-30KB | Strict forms, tiny thumbnails, verification uploads | Small dimensions plus JPEG or WebP |
| 50KB | Avatars, application portals, lightweight previews | Resize first, then use medium quality |
| 100KB | Web thumbnails, profile images, simple documents | WebP or JPEG with sensible dimensions |
| 200KB | Product images, blog thumbnails, forms with more detail | Keep useful dimensions and adjust quality |
| 500KB | Large web images, portfolio previews, social graphics | Resize to display size and use WebP |
| 1MB | Hero images, detailed photos, marketplace uploads | Preserve detail while removing excess dimensions |
The correct compression order
- Crop unnecessary areas. Empty space increases dimensions without adding useful information.
- Resize to the real display size. A 4000px image displayed at 800px is carrying unnecessary data.
- Choose a suitable format. Use JPEG for photographs, WebP for modern web delivery, and PNG for transparency or sharp graphics.
- Adjust quality gradually. Lower quality in small steps and inspect the result.
- Check the actual file size. The final downloaded file is the only reliable measurement.
How to compress an image to 20KB or 50KB
Start by making the image physically smaller. For a profile picture or form upload, try a width between 300px and 800px depending on the requirement. Export a photograph as JPEG or WebP, then reduce quality until the file fits.
At 20KB, visual compromises are normal. Keep the subject centered, avoid tiny text, and do not expect a full-resolution photo to remain detailed. If the file is still too large, reduce the dimensions before lowering quality again.
How to compress an image to 100KB or 200KB
These targets usually allow a better balance. Resize the image to the actual page or form dimensions, then use a medium-to-high quality JPEG or WebP export. For screenshots and graphics, test PNG against WebP because text clarity may matter more than the smallest file.
Use the WeLuvTools Image Compressor to process the image and compare the original and output sizes. If you need format conversion or a resize preset at the same time, use the All-in-One Image Tool.
How to compress an image to 500KB or 1MB
For larger targets, do not reduce quality more than necessary. The better approach is usually to resize to the maximum display dimensions and choose WebP or JPEG. A 1MB limit is generous for a normal web image, but an original camera photo can still exceed it if you keep every pixel.
For a blog hero image, measure the layout first. If the hero is never wider than 1200px, there is little benefit in uploading a 5000px original. Keeping a separate original backup lets you optimize the published copy without losing the source file.
Why quality alone does not work
Quality controls the image encoding, but it does not remove excess pixel dimensions. A 6000px photo at low quality can still be larger than a 1200px photo at high quality. When a file-size limit is strict, resize first and compress second.
Common mistakes
- Trying to reach 20KB without reducing a huge original image.
- Using PNG for a photograph when JPEG or WebP would be much smaller.
- Lowering quality so far that faces, text, or product details become unreadable.
- Checking the preview instead of the final downloaded file size.
- Overwriting the original instead of keeping an editable backup.
Fast workflow with WeLuvTools
- Open the All-in-One Image Tool.
- Add the image or several images.
- Choose JPEG or WebP for ordinary photographs.
- Use resize dimensions or a percentage reduction.
- Set quality and process the file.
- Check the output size and repeat with a smaller dimension if necessary.
The tool processes supported images in the browser, so the file does not need to be uploaded to a remote compression service.
Final checklist
Before submitting an image, confirm the file extension, actual file size, pixel dimensions, visual quality, and transparency requirements. If the portal says “under 100KB,” aim slightly below the limit rather than stopping at exactly 100KB. This leaves room for differences in how the receiving system measures the file.