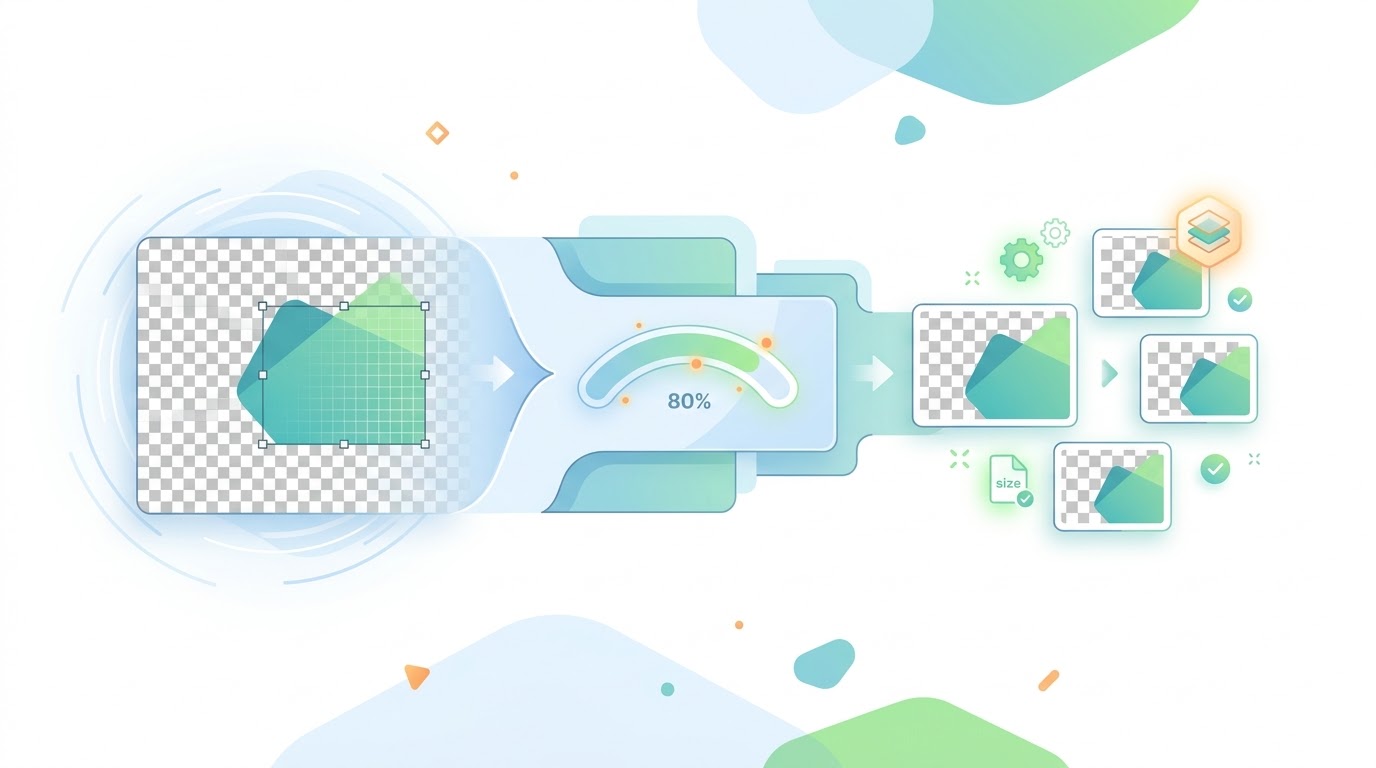
A PNG can look simple on screen and still be surprisingly large. Transparent pixels, fine gradients, screenshots, oversized dimensions, and thousands of colors can all increase the file size. That becomes a problem when a form sets a 100KB limit or a website needs lightweight images that load quickly.
This PNG compression guide explains what can be reduced without changing the picture, what requires a trade-off, and how to prepare a PNG for limits such as 50KB, 100KB, 150KB, 200KB, or 500KB. If you already know your limit, jump directly to the matching target-size workflow.
Why PNG still matters in 2026
PNG remains useful because it combines lossless image storage with alpha transparency. It is a strong choice for logos, diagrams, interface graphics, screenshots, line art, and any image where crisp edges matter. Re-encoding a PNG losslessly does not introduce the blockiness or ringing associated with repeated lossy JPEG exports.
PNG is not automatically the best format for every image. A detailed camera photo often contains too much color and texture for PNG to store efficiently. JPEG, WebP, or AVIF may produce a substantially smaller delivery file for that type of content. The correct format depends on the image and how it will be used.
| PNG is usually a good fit | Consider another format |
|---|---|
| Transparent logos and cutouts | Large photographs without transparency |
| Screenshots with small text | Photo-heavy website banners |
| Icons, diagrams, and flat graphics | Background images where minor loss is acceptable |
| Images that need exact pixel values | Large galleries focused on download speed |
How PNG compression works
PNG uses lossless compression. The encoder looks for patterns in rows of pixels and stores those patterns efficiently without deliberately discarding image detail. Re-encoding can sometimes remove unnecessary metadata or find a better representation, but it cannot guarantee a dramatic reduction for every file.
PNG file size is mainly affected by:
- Pixel dimensions: a 4000 by 3000 image contains far more pixels than a 1200 by 900 image.
- Color complexity: flat-color graphics are easier to compress than noisy photographs and gradients.
- Transparency: the alpha channel adds information that must be stored.
- Image content: repeated shapes and areas of one color usually compress better than random detail.
- Metadata and encoder choices: these can affect the result, although dimensions and content usually matter more.
Lossless optimization versus visible reduction
A lossless optimizer tries to make the file smaller without changing its pixels. Palette reduction can make a PNG much smaller, but it may merge similar colors. Resizing removes pixels and therefore changes the image dimensions, even when the remaining pixels still look clear.
The WeLuvTools target-size PNG pages use a straightforward browser workflow: they keep a PNG that is already below the limit, otherwise they re-encode it and reduce its dimensions until the result fits. This preserves PNG output and supported transparency, but a strict small limit can require a visibly smaller image. The result screen shows both the file size and final dimensions so you can judge the trade-off.
Why “under 100KB” is different from “exactly 100KB”
Most upload requirements are maximum limits. If a portal accepts files up to 100KB, a clear 96KB image is valid; adding meaningless bytes just to make it exactly 100KB provides no benefit. PNG encoding also changes in discrete steps, so a useful result may land below the requested ceiling rather than on one precise byte count.
A responsible target-size tool should therefore aim for the largest practical result at or below the limit. It should also report the downloaded file's actual size instead of claiming that every image can reach an identical number without a quality or dimension change.
How to compress PNG to a specific limit
- Confirm the requirement. Check the accepted format, maximum file size, minimum dimensions, and whether transparency is required.
- Choose the matching target page. Use 50KB for a 50KB ceiling, 100KB for a 100KB ceiling, and so on.
- Select the image. The supported file is decoded in your browser rather than sent to WeLuvTools.
- Run the optimizer. The tool searches for practical dimensions that keep the PNG within the selected limit.
- Review the result. Check the preview, actual file size, and final width and height before downloading.
- Test the upload. Submit the downloaded copy and keep the original file as your master.
| Target page | Useful starting point | Quality consideration |
|---|---|---|
| Compress PNG to 50KB | Strict forms, signatures, small ID images | Large originals may need a substantial dimension reduction |
| Compress PNG to 100KB | Application portals, profile images, thumbnails | Inspect small text and facial detail before submitting |
| Compress PNG to 150KB | Blog thumbnails, email graphics, lightweight social assets | Often provides more room for detail than a 100KB ceiling |
| Compress PNG to 200KB | Product graphics, content images, larger form uploads | Check the platform's real dimensions as well as its size limit |
| Compress PNG to 500KB | Detailed web graphics, banners, presentation assets | File size alone does not guarantee print or high-density-screen quality |
If the source is JPG or WebP and the destination specifically requires PNG, begin with the Convert to PNG tool. Converting a photograph to PNG may increase its size, so use a target-size page afterward only when the receiving service requires PNG.
What to do when the result becomes too small
A very detailed image cannot always fit a tiny PNG limit while keeping its original dimensions. If the output no longer has enough detail, try these options:
- Crop empty or unimportant areas before compression.
- Check whether JPEG or WebP is accepted instead of PNG.
- Use a higher target if the portal allows it.
- Remove an unnecessary transparent background with the PNG Background Remover, then compare the result.
- For a simple solid background, use the PNG Transparent Maker only when transparency is actually needed.
PNG vs JPEG vs WebP vs AVIF
| Format | Compression modes | Transparency | Common strengths |
|---|---|---|---|
| PNG | Lossless | Yes | Sharp graphics, screenshots, logos, alpha transparency |
| JPEG | Lossy | No | Photographs, simple sharing, broad editing compatibility |
| WebP | Lossy and lossless | Yes | Modern web delivery for photos and graphics |
| AVIF | Lossy and lossless | Yes | Efficient modern delivery when the workflow supports it |
Do not choose a format from a comparison table alone. Export a representative image, compare its appearance at the size where users will see it, and verify that the destination accepts the format. PNG may win for a small transparent logo while WebP or AVIF may be more efficient for a full-width photograph.
For website publishing, the PNG to WebP Converter provides an easy comparison path. Keep the original PNG as a source asset and publish the smaller format only when it preserves the quality and transparency you need.
Seven common PNG compression mistakes
- Using PNG for every photograph. PNG can make photo files unnecessarily large. Test JPEG, WebP, or AVIF when transparency is not required.
- Compressing before resizing. Match the pixel dimensions to the real display or upload requirement first.
- Assuming lossless means small. Lossless describes preservation of pixel information, not a guaranteed file size.
- Ignoring final dimensions. A file can meet a 50KB limit yet be too small for the intended placement.
- Removing transparency accidentally. Check the preview on a checkerboard and confirm the output is still PNG.
- Chasing an exact byte count. For a maximum limit, a result below the ceiling is normally safer than one sitting on the edge.
- Skipping the final test. Open the downloaded file and submit that exact copy before deleting or replacing anything.
A practical website workflow
Start with the dimensions the layout actually uses. Resize oversized source art, keep transparency only where it adds value, and compare PNG against a modern delivery format. In the page markup, include width and height attributes so the browser can reserve space before the image loads. Keep the original source separately so you can create a new export when the design changes.
When a content system specifies a fixed PNG ceiling, use the matching target tool and inspect its real output instead of guessing with a generic slider. For a broader image workflow, use the Image Resizer before compression or read the AVIF vs WebP vs JPEG guide.
Choose the right PNG workflow
PNG compression is not one operation. Sometimes a lossless re-encode is enough. Sometimes the image must be resized, simplified, cropped, or moved to another format. Begin with the destination requirement, protect the details that matter, and verify the downloaded result.
Ready to optimize a file? Choose 50KB, 100KB, 150KB, 200KB, or 500KB, then review the result before using it.